Are you ready to master the basics of engineering drawing? Whether you’re a beginner sketching your first technical drawing or a professional aiming to perfect your designs for CNC machining, TOPCNCPRO’s comprehensive guide has you covered.
With years of expertise in precision manufacturing, we’ve crafted this guide to demystify engineering drawing principles, from orthographic views to GD&T. You’ll discover practical tips, industry-standard techniques, and real-world examples to create accurate, actionable drawings that bring your ideas to life.
Dive in and unlock the power of technical drawings with TOPCNCPRO today!
Introduction to Engineering Drawing
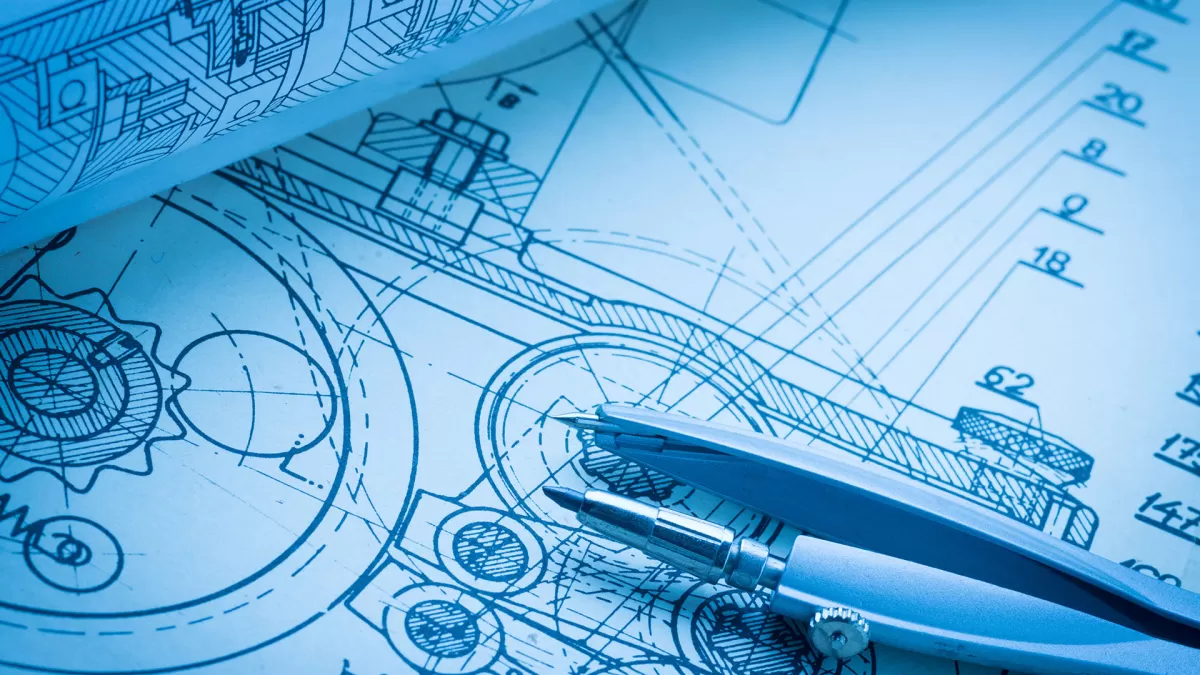
If you’ve ever wondered what exactly an engineering drawing is or why it matters, you’re in the right place. Simply put, an engineering drawing is a detailed graphic representation of an object or system. It’s more than just a sketch—these drawings use standardized symbols, lines, and measurements to precisely communicate how something should be made or assembled.
So, why are engineering drawings essential? Without them, there would be confusion between designers, engineers, and manufacturers. These drawings act like a common language, ensuring everyone involved understands the exact specs, dimensions, and materials needed. Whether it’s for building a machine part, an electronic device, or a large structure, engineering drawings keep things clear, accurate, and efficient. They reduce errors, save time, and are critical for quality control throughout the production process.
Core Components of Engineering Drawings

Engineering drawings have several key parts that make them useful and clear. Understanding these core components helps avoid confusion and ensures everyone reading the drawing is on the same page.
Title Block Essentials
The title block is like the ID card of any technical drawing. It includes vital information such as:
- Part name or description
- Drawing number
- Date of creation or revision
- Scale used
- Name of the designer or company
- Approval signatures
This block makes it easy to track the drawing and verify its details, which is especially important in professional and manufacturing settings.
Types of Views in Engineering Drawings
Different views help show all angles of a part clearly. The common views include:
- Orthographic projection: Shows the object in front, top, and side views. This is the standard for most technical drawings.
- Isometric view: Offers a 3D perspective to help visualize the part better.
- Sectional views: Cuts through the object to display internal features that aren’t visible in other views.
Using these views correctly gives a complete understanding of the part’s shape and details.
Lines Symbols and Annotations
Lines and symbols are the language of engineering drawings. Each type of line has a purpose:
- Visible lines: Show edges you can see.
- Hidden lines: Represent features hidden behind surfaces.
- Center lines: Mark symmetry or axis points.
Annotations include dimensions, notes, and tolerances written clearly to give exact measurements and manufacturing instructions. Common symbols follow engineering drawing standards so everyone can interpret them the same way.
Together, these core components create a clear, reliable blueprint that meets the standards required for manufacturing, engineering, and CNC machining.
Fundamental Principles of Engineering Drawing

When you dive into the basics of engineering drawing, understanding the fundamental principles is key to creating clear and accurate designs. These principles ensure that everyone reading the drawing gets the same information, which is vital in manufacturing and construction.
Geometric Dimensioning and Tolerancing (GD&T)
GD&T is a system that defines and communicates engineering tolerances. It uses symbols to describe the size, form, orientation, and location of features on a part. This helps you specify how much variation is allowed during manufacturing, which keeps parts fitting together as intended even if there are small differences.
Scaling and Projections
Scaling involves resizing the drawing to fit the paper or screen while keeping proportions accurate. Projections are about representing 3D objects in 2D views, like flat drawings. The most common method in engineering drawing is orthographic projection, where you show multiple views (front, top, side) to give a full picture of the part.
Coordinate Systems and Datum Points
A coordinate system helps define precise locations on a drawing using reference axes (X, Y, and sometimes Z). Datum points are fixed starting references from where measurements begin, ensuring consistency across the drawing. They are essential for setting exact positions and aligning components correctly during assembly or machining.
Together, these principles form the backbone of reliable and standardized engineering drawings, making it easier to turn designs into real-world parts with confidence.
Tools and Software for Engineering Drawing

When it comes to engineering drawing, the tools you use can make a big difference. Traditionally, draftsmen relied on manual tools like pencils, rulers, compasses, and protractors. These basic tools helped create precise lines and angles but could be time-consuming and prone to errors. With the rise of digital design, modern CAD (Computer-Aided Design) software has transformed how drawings are made. CAD software allows for quick editing, accurate measurements, and 3D modeling, which is essential for today’s complex projects.
At TOPCNCPRO, we leverage the power of CAD software to deliver highly precise and detailed engineering drawings. Our team uses advanced CAD tools to ensure every dimension, tolerance, and annotation meets strict engineering drawing standards. This precision helps eliminate mistakes during manufacturing and improves communication between designers and CNC machining teams. Whether you’re working on simple parts or complex assemblies, using modern CAD tools through TOPCNCPRO helps streamline the design-to-production process and guarantees quality outcomes.
Step-by-Step Guide to Creating an Engineering Drawing
Creating an engineering drawing doesn’t have to be complicated. Here’s a simple step-by-step process to get it done right:
Step 1 Define the Part and Purpose
Start by clearly understanding what part you’re drawing and why. Is it for manufacturing, inspection, or assembly? Knowing the purpose helps you decide what details to include.
Step 2 Select Views and Layout
Pick the right views to show the part clearly. Usually, you’ll need front, top, and side views—this is called orthographic projection. Sometimes an isometric view helps to see it in 3D. Arrange these views logically on your drawing sheet.
Step 3 Add Dimensions and Tolerances
Dimensions tell the size, and tolerances show acceptable variations. Be precise here—accurate geometric dimensioning and tolerancing (GD&T) ensure the part fits and functions properly.
Step 4 Include Annotations and Notes
Use symbols, labels, and notes to clarify special instructions. Include surface finishes, material types, and any assembly tips. This step avoids confusion during production.
Step 5 Review and Finalize
Double-check everything—views, measurements, and annotations. Make sure the title block is filled out correctly with project info, dates, and approvals. A final review saves time and cost downstream.
Following these steps helps create clear, reliable engineering drawings that work in both design and CNC machining applications.
Common Mistakes to Avoid in Engineering Drawings
When creating engineering drawings, avoiding common errors is key to clear communication and efficient production. Here are some mistakes to watch out for:
Overcomplicating Views
Sometimes, adding too many views or unnecessary details can confuse the reader. Stick to the essential views that clearly show the part’s shape and features. Use standard orthographic projections to keep it simple and easy to understand.
Inaccurate or Missing Tolerances
Tolerances show how much a part can vary. Leaving them out or setting them incorrectly can cause problems during manufacturing, leading to parts that don’t fit or function right. Always double-check your geometric dimensioning and tolerancing (GD&T) to ensure accuracy.
Outdated Title Blocks
The title block holds important info like part number, revision, and who made the drawing. Using outdated or incomplete title blocks can cause mix-ups and delays. Make sure the title block is current and properly filled out before finalizing the drawing.
Avoiding these common pitfalls helps keep your engineering drawings precise, reliable, and easy to use—especially important when working with CNC machining drawings and CAD software.
Applications of Engineering Drawings in CNC Machining
Engineering drawings play a huge role in CNC machining by serving as the bridge between design and manufacturing. These drawings provide clear, precise instructions that CNC machines follow to create parts exactly as intended. Without an accurate engineering drawing, the final product can end up off-spec, leading to wasted materials and time.
Bridging Design and Manufacturing
Engineering drawings translate complex design ideas into a language CNC machines understand. They include everything from dimensions and tolerances to surface finishes and material notes. This ensures the manufacturing team and the CNC operators are on the same page, preventing costly mistakes.
Real-World Example
Imagine a custom automotive part built with TOPCNCPRO’s services. The engineering drawing details the exact shape, size, and tolerances required. CNC operators use this drawing to program the machines, producing parts that fit perfectly the first time. This reduces the need for rework and keeps projects on schedule.
Enhancing Collaboration
Good engineering drawings improve communication between engineers, machinists, and quality control teams. Using standardized symbols and clear annotations cuts down back-and-forth emails and phone calls. It helps everyone involved quickly understand the requirements, making the entire CNC machining process smoother and more efficient.
In the U.S. market, where precision and speed matter, reliable engineering drawings are key to successful CNC manufacturing. They help companies like TOPCNCPRO deliver high-quality parts that meet industry standards and customer expectations.
Tips for Beginners and Professionals
Whether you’re just starting out or you’ve been working with engineering drawings for years, a few straightforward tips can make a big difference.
Practice with Simple Parts
Begin by drawing basic shapes and simple parts. This helps you get comfortable with core engineering drawing principles like orthographic projection, line types, and dimensioning. Once you master the basics, you can move on to more complex designs with confidence.
Stay Updated on Standards
Engineering drawing standards and technical drawing symbols can change or vary by industry. Keep up-to-date with the latest guidelines in geometric dimensioning and tolerancing (GD&T), CAD software updates, and CNC machining drawings standards. Staying current ensures your drawings are clear, accurate, and accepted across different projects.
Leverage TOPCNCPRO’s Expertise
TOPCNCPRO offers specialized CAD tools designed for precision and ease. Using their software can streamline your workflow, help avoid common mistakes, and improve collaboration between design and manufacturing teams. For professionals in the United States, TOPCNCPRO’s solutions combine local needs with advanced features, making engineering drawing tasks quicker and more reliable.
By practicing regularly, following up-to-date standards, and using the right tools like TOPCNCPRO, you’ll improve your engineering drawing skills quickly whether you’re just starting or looking to sharpen your expertise.
